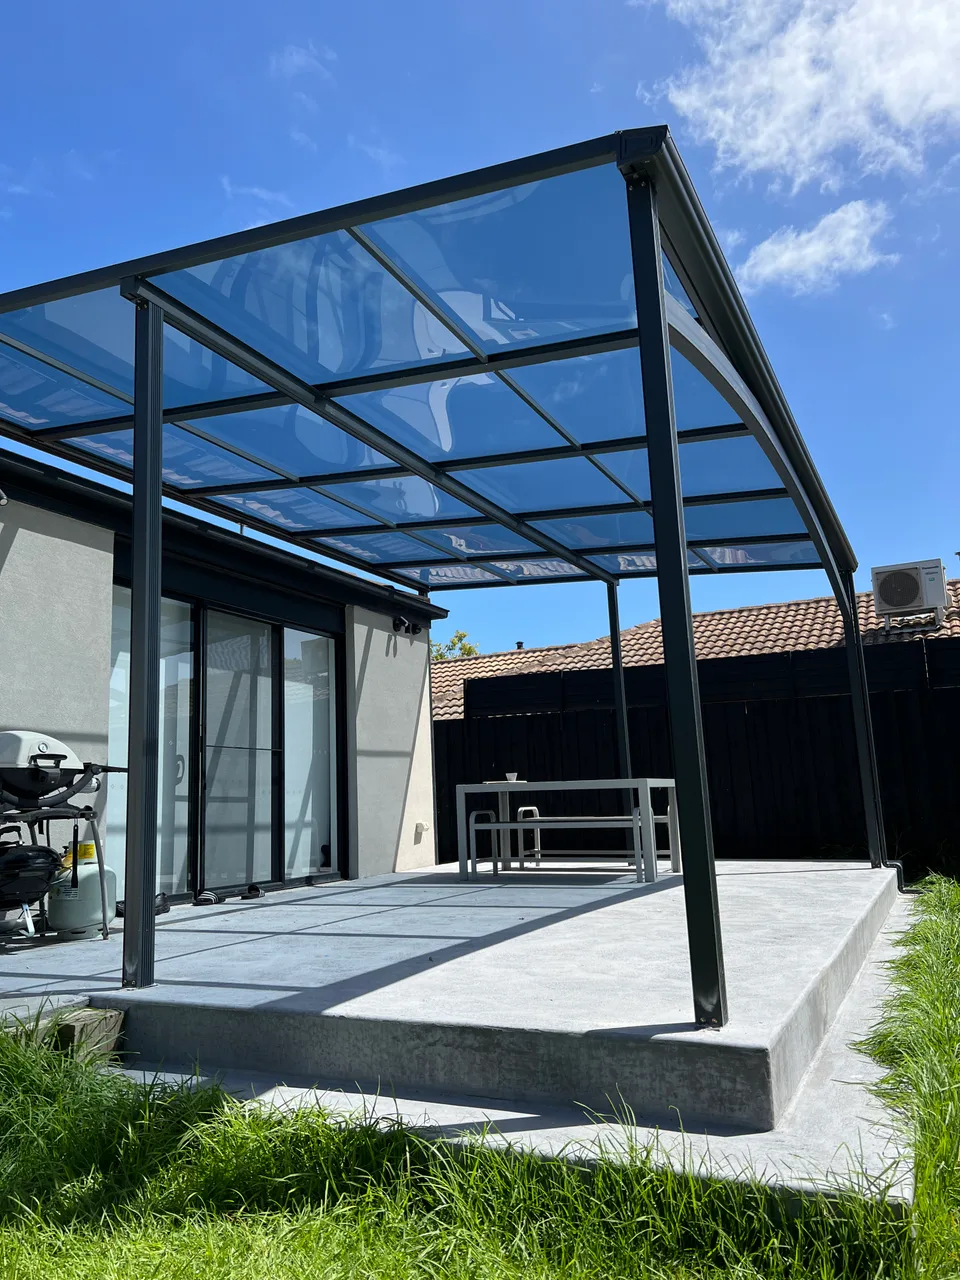
Photos like these help us understand your space
AI-generated photo examples. Photograph your own space as it is today, from ground level.
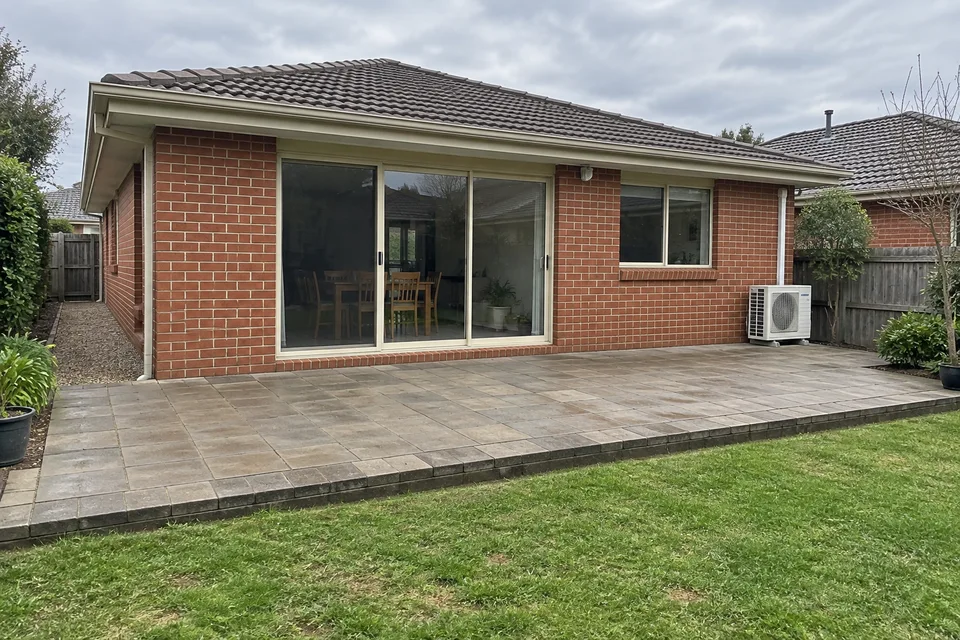
01 · Step back for the whole space
Include the house wall, the full area to cover and obstacles such as steps or air conditioning units.
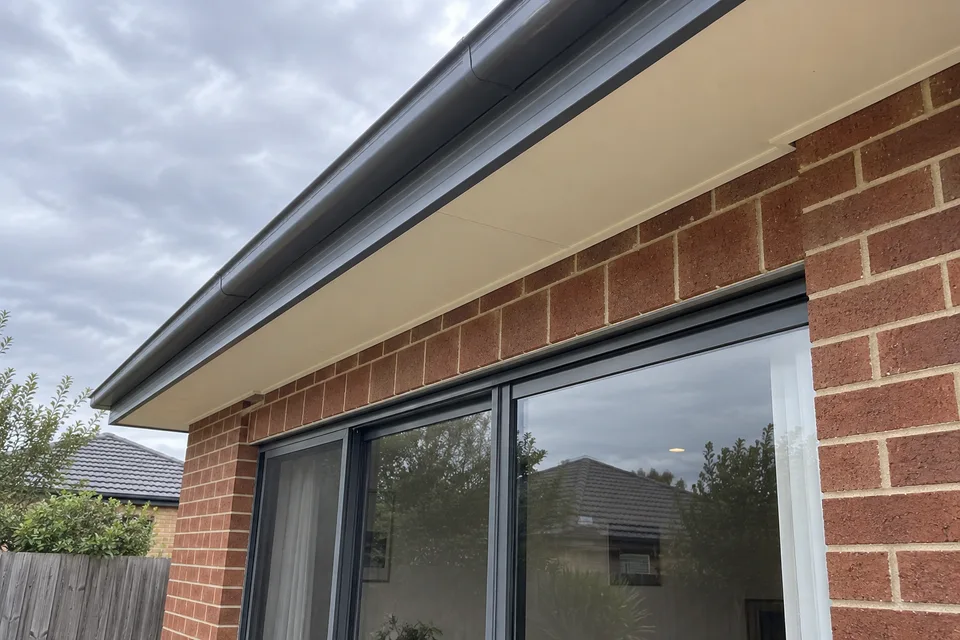
02 · Look up at the roof edge
From the ground, show the eaves and the space above the doors.
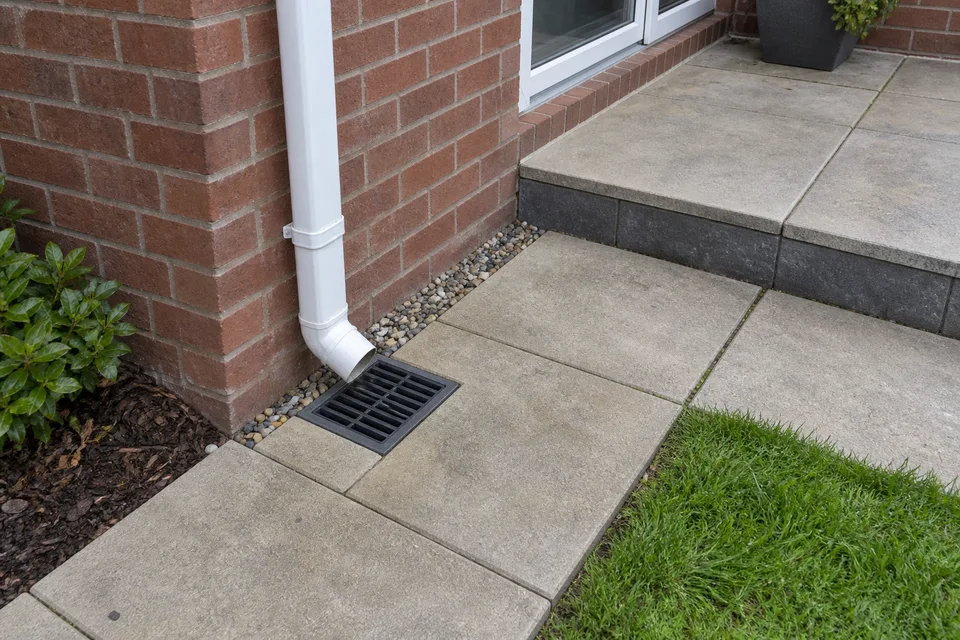
03 · Show the ground and drains
Point your camera down to include paving, steps and any visible downpipes or drains.
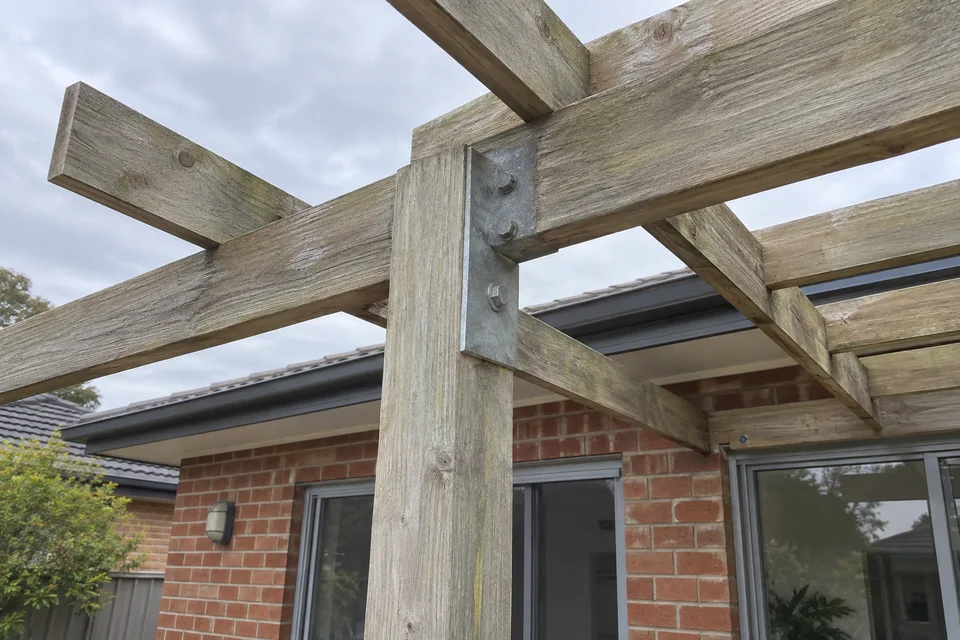
04 · Get closer to frame joints
Show the frame from both directions, then take closer views of its joints.
1. Start with the whole patio
Stand far enough back to include the house wall, the area you want to cover and both ends of the proposed roof. A normal phone photo is useful; avoid a stretched panorama or an ultra-wide view that makes the space look larger.
If you cannot fit everything in, send two overlapping views. Keep fixed obstacles in the frame: steps, fences, outdoor units, doors and existing posts all help explain the layout.
2. Show where the roof would meet the home
Take an eye-level view of the wall and roof edge above the patio, followed by a closer photo of the eaves or existing connection. Include the top of the sliding doors so the available space is visible.
Stay on the ground. These photos help identify questions about the proposed attachment; they cannot show concealed framing or establish structural capacity. The fixing arrangement is confirmed during site assessment.
3. Include the ground and water path
Show the surface beneath the patio, the outer edge, existing gutters and any visible downpipes or drains. Let us know if water already pools in part of the area. A photo taken after rain can help describe that issue, if you already have one.
For a deck, include the edge and visible supports without crawling underneath. For concrete or paving, show joints, steps and the likely post positions. Surface appearance alone does not establish footing suitability.
4. Photograph an existing pergola from both directions
If you hope to retain a pergola, send one view from the garden toward the house and one looking outward. Add close views of the posts, beam connections and any visible deterioration or alterations.
The completed timber pergola upgrade shows one retained frame with roofing and drainage added. Your frame needs its own review; matching its appearance is not enough.
5. Add a few details alongside the photos
- Suburb: where the project is located.
- Approximate width and projection: width runs along the house; projection is the distance out from it. Mark estimates as approximate.
- Your main concern: rain cover, retaining indoor light, direct sun or an awkward existing structure.
- Timing and current stage: an existing patio, a renovation or a new build.
Measure only where you can do so safely from ground level. If a dimension is unknown, say so. Plans can supplement the photos, but please identify whether they show the existing or proposed building.
What happens after you send them?
Use the homepage enquiry form to provide the details and attach the photos you have. If an important angle is missing, we can ask for it; you do not need a professional photo set to begin.
We normally reply within two business days. The initial review helps identify likely fit and the next questions. A measured site assessment and written scope establish the final configuration and price. See the price guide for what affects the quote.